
6–8 Month Rotator Cuff Rehab for UK Patients
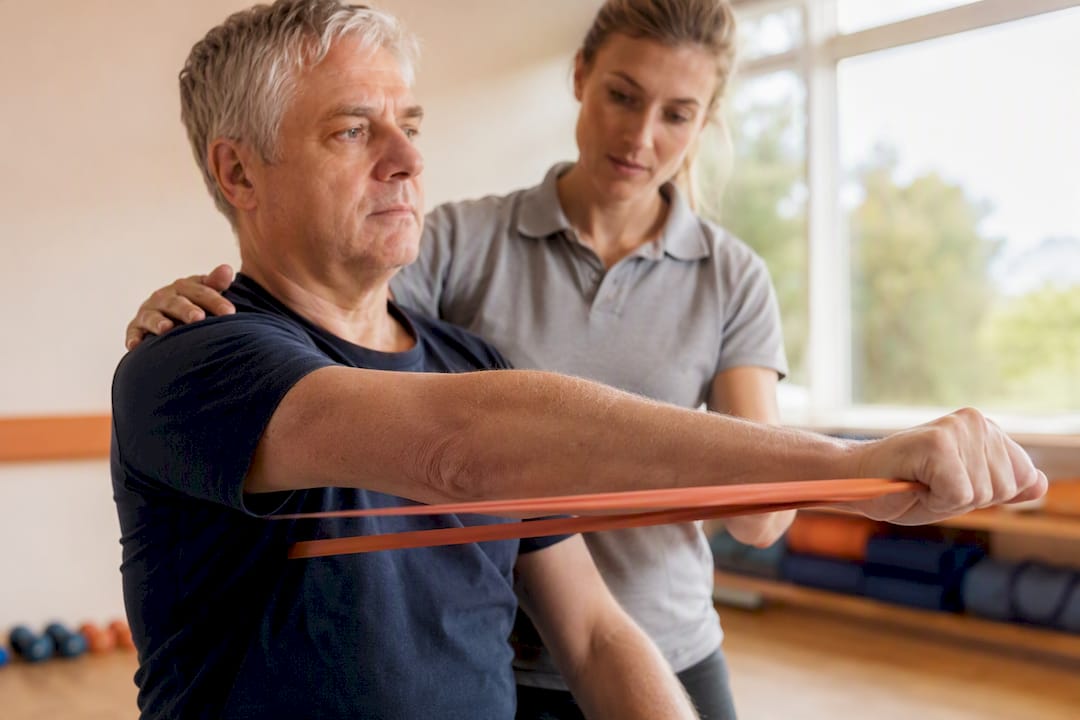
Rotator cuff rehabilitation follows a staged protocol: protect the repair, restore range of motion, then progressively strengthen. Sling protection typically runs 0 to 4 weeks, passive movement begins around weeks 2 to 6, active motion follows by 6 to 12 weeks, and structured strengthening usually starts after 12 weeks. Most patients reach heavy activity or sport at around 6 to 8 months, always under clinician-guided, pain-respecting progression.
TL;DR:
Progression through rotator cuff rehab depends on pain levels, range of motion, scapular control, and strength, not just the timeline or calendar weeks.
Early exercises focus on minimal EMG activity, such as pendulum swings and gentle wand-assisted rotations, without provoking sharp pain.
Strengthening begins typically after 12 weeks, emphasizing high-repetition, low-resistance endurance work tailored to tissue healing capacity.
Patients should watch for warning signs like increasing pain, swelling, or loss of movement, which require prompt medical review.
Individualized therapy plans, based on assessment and tissue response, outperform generic routines in avoiding setbacks and ensuring optimal recovery.
Table of Contents
What are the stages of rotator cuff rehab?
Every credible rotator cuff physiotherapy programme moves through four broad phases, and skipping ahead is where most setbacks happen. The exact week ranges shift depending on whether you have had surgery, the size of the tear, and the quality of the repaired tissue, but the sequence itself barely changes.
The ASSET consensus statement on rehabilitation following arthroscopic rotator cuff repair recommends a gradual application of controlled stress on the healing tendon, moving from limited immobilisation through passive motion, active motion, and finally resistance work. Clinicians use EMG-based exercise classification to work out which movements load the repair lightly and which ones demand more from the cuff, then sequence exercises accordingly rather than by calendar date alone.
Phase | Typical week range | Main goal | Progression signal |
Maximum protection | Weeks 0–2 | Protect the repair, manage pain and swelling | Pain settling at rest, wound healing well |
Protected passive motion (PROM/AAROM) | Weeks 2–6 | Restore passive range without loading the tendon | Passive ROM approaching functional targets, no sharp pain |
Active motion (AROM) | Weeks 6–12 | Regain active control and scapular timing | Smooth active lift without compensation, minimal soreness |
Strengthening and function | Week 12 onward | Build cuff endurance, strength and task tolerance | Strength nearing the uninjured side, sport-specific tests passed |
A literature review on rotator cuff repair rehabilitation protocols found that early passive mobilisation at 4 to 6 weeks does not increase re-tear rates in appropriately selected patients, which is why some surgeons now allow earlier gentle movement than the traditional four-week sling rule once suggested. Tear size and tissue quality still decide how quickly a patient is moved through the schedule, so two people with the same surgery date can be on genuinely different programmes.
Progression between phases is never decided by the calendar alone. Physiotherapists look for:
Pain settling to a low, tolerable level during and after exercise, not just at rest.
Passive range of motion reaching set targets before active work is introduced.
Scapular control returning, so the shoulder blade sits and moves properly during arm elevation.
Active range approaching symmetry with the uninjured side before resistance is added.
Consistent tolerance of the previous phase’s exercises across several sessions, not just one good day.
Most patients attend physiotherapy weekly or fortnightly through the early phases, tapering to monthly check-ins once a home strengthening programme is established and tolerated well.
What exercises help at each stage of rotator cuff recovery?
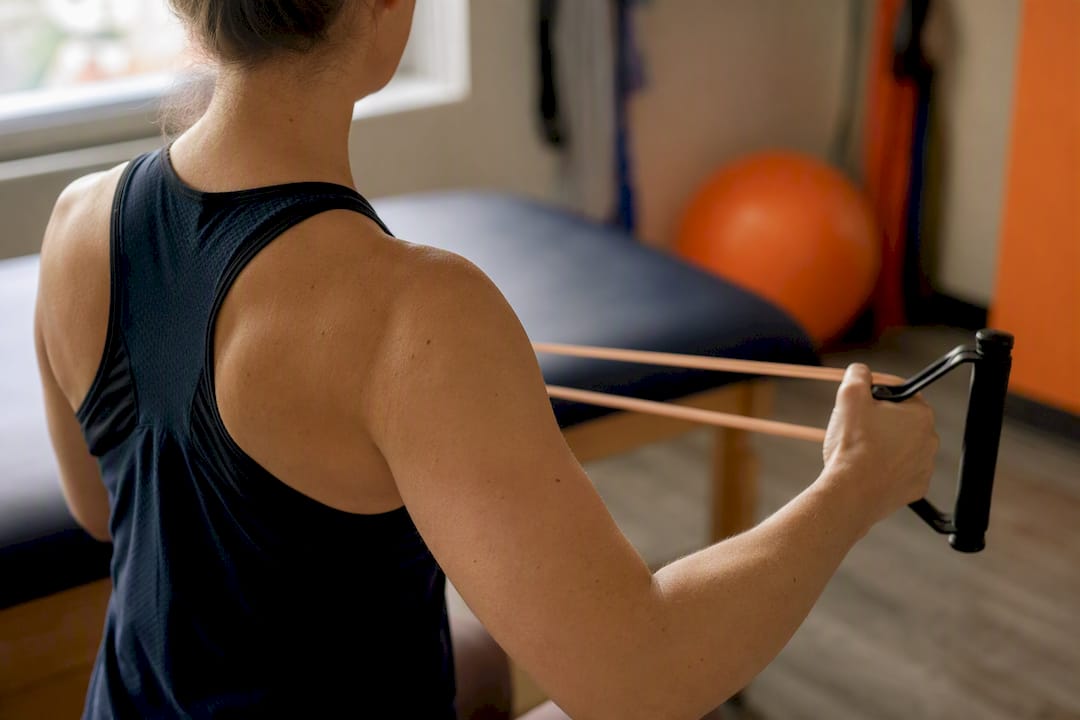
The exercises themselves are simple. What matters is doing the right one at the right time, with the right dosage, and stopping before pain escalates. NHS guidance on shoulder exercises for rotator cuff tear sets out a stepwise sequence that mirrors what most UK physiotherapy clinics use in practice, and it is worth following that order closely rather than jumping to band work because it feels more “active”.
Early phase (protection and passive motion)
Pendulum swings. Lean forward, let the arm hang, and swing it gently in small circles using body momentum rather than shoulder muscles. Two to three sets of 30 seconds, once or twice daily.
Passive external and internal rotation with a wand. Lying down, use the unaffected arm to push the affected arm outward and inward within a pain-free range. Ten to fifteen repetitions, twice daily.
Scapular setting. Gently draw the shoulder blade down and back without shrugging, holding for five seconds. Ten repetitions, several times a day.
These movements generate minimal EMG activity in the repaired tendon, which is exactly why they come first. None of them should provoke sharp pain; mild stretching discomfort at end range is normal.
Mid phase (active-assisted and early active motion)
Once passive range is comfortable and scapular control has returned, exercises shift to active-assisted work:
Wall or table slides, walking the fingers up a wall or sliding the hand along a table to actively assist shoulder flexion.
Low-row isometrics, gently squeezing the shoulder blades together against light resistance to reintroduce scapular strength without arm movement.
Pulley or wand-assisted active raises, using the good arm or a pulley system to guide the injured arm through a fuller active range.
The trigger to progress here is straightforward: pain-free active lift through most of the available range, without the shoulder hiking up toward the ear as a compensation strategy. If that hitching happens, the exercise is too advanced and needs to be dialled back a stage.
Late phase (strengthening and endurance)
Strengthening exercises only make sense once the shoulder can move actively without compensation. At this stage, the goal shifts from mobility to muscular endurance, and that distinction matters more than most people realise.
Resisted external and internal rotation with a resistance band, elbow tucked at the side, rotating the forearm outward and inward against light tension.
Side-lying external rotation, lying on the uninjured side with a light dumbbell, rotating the top arm upward while keeping the elbow bent and glued to the ribs.
Prone T, Y and I raises, lying face down on a bed or bench and lifting the arm into three different positions to target the mid and lower trapezius alongside the cuff.
Rotator cuff endurance circuits, cycling through several of the above at low resistance for higher repetitions to build the muscular stamina these small stabiliser muscles rely on day to day.
Common mistakes at this stage include reaching for heavier resistance too soon, letting the shoulder blade wing or shrug during band work, and rushing through repetitions instead of controlling the return phase of each movement.
Pro Tip: Before adding any resistance band or dumbbell work, check that you can hold a steady scapular position through ten slow, controlled reps of the previous phase’s exercises. If your shoulder blade wings or your neck muscles take over, you are not ready to load the tendon yet, no matter how many weeks have passed.
How do you safely build rotator cuff strength?
Strengthening most commonly begins after week 12, though this depends heavily on tissue healing and surgeon sign-off rather than a fixed date on a calendar. The ASSET consensus statement frames this as a gradual increase in controlled stress on the healing tendon, and that principle should guide every decision about adding load.
The rotator cuff is made up of small stabiliser muscles, not the large prime movers people usually train in a gym. MedlinePlus guidance on shoulder exercises points out that these muscles respond better to endurance training, high repetitions at low load, rather than heavy maximal lifting. That is why a typical early strengthening set looks like 2 to 3 sets of 15 to 30 repetitions with a light band or 1 to 2kg dumbbell, not three sets of eight with a heavy weight.
A sensible weekly progression once strengthening starts might look like this:
Weeks 12–14: Band-based external and internal rotation, side-lying external rotation, three sessions a week, light resistance, focus on control.
Weeks 14–18: Add prone T/Y/I raises and low-level scapular strengthening on a cable machine or resistance band, still high reps and low load.
Weeks 18–24: Introduce slow eccentric work (controlling the weight on the way down) and begin functional patterns relevant to your sport or job, gradually increasing resistance.
Beyond 24 weeks: Progress toward heavier, more sport-specific or task-specific loading, guided by strength testing against the uninjured side.
Resistance only increases once the current load is tolerated for a full session without delayed soreness the next day. That single rule prevents most of the inflammatory flare-ups that derail otherwise good progress.
Pro Tip: Keep a simple log of resistance level and next-day soreness for each session. If soreness lasts more than 24 hours or feels sharp rather than achy, drop back one level before trying to progress again.
What pain is normal, and what are the red flags?
Some discomfort during rotator cuff exercises is expected, especially in the strengthening phase. The distinction that matters is between a dull, generalised ache from muscle effort and a sharp, localised pain at the front or side of the shoulder that suggests the tendon itself is being overloaded. Clinical consensus is clear that exercise should stay pain-respecting rather than follow a “no pain, no gain” mindset, particularly in the first few months after repair.
A few precautions apply broadly to most post-surgical protocols:
Avoid reaching behind your back or lifting overhead until your physiotherapist confirms it is safe, since these positions stress the repair disproportionately.
If your repair involved the subscapularis tendon, external rotation range is often deliberately restricted early on, as overstretching this specific tendon carries higher re-tear risk.
Follow sling guidance precisely, including how long to wear it and when it can come off for exercises, rather than removing it early because the shoulder “feels fine.”
Certain symptoms need prompt review rather than a wait-and-see approach:
Increasing redness, swelling, discharge or fever suggesting wound infection.
Severe night pain that is worsening rather than settling week on week.
New numbness, tingling or weakness down the arm.
A sudden loss of the movement you had previously regained, which can signal a re-tear.
Any of these warrants contacting your surgeon or physiotherapist directly, not pushing through the next scheduled home exercise. For more detail on separating normal exercise discomfort from concerning pain, see this shoulder pain treatment guide.
When can you return to sport, driving and heavy work?
Recovery timelines vary by task, and that is often the most misunderstood part of rotator cuff injury recovery. Light activities of daily living, dressing, eating, typing, usually return within a few weeks once the sling comes off and pain settles. Lifting and heavier household tasks are reintroduced progressively from roughly 8 to 12 weeks onward, depending on the repair size and how the tissue is healing.
Return to sport or heavy manual work generally takes 6 to 8 months following rotator cuff repair, according to rehabilitation timeline data commonly cited in orthopaedic literature.
Clearance for higher-demand activity is not based on the date alone. Clinicians typically check for:
Full, pain-free active range of motion matching or close to the uninjured shoulder.
Strength testing showing the repaired side within a comparable range of the uninjured arm.
Successful completion of sport-specific or job-specific movement tests, such as an overhead throwing motion or a simulated lifting task.
No provocation of pain during a graded return-to-activity trial over several sessions.
Driving is a frequent early question, and the honest answer depends on arm and side, sling use, and whether the movements required (steering, gear changes, mirror checks) can be performed safely and pain-free. Guidance on driving again after a serious injury is a useful general reference while you wait for your surgeon or physiotherapist’s specific sign-off.
How does Parks Therapy Centre build individualised rehab plans?
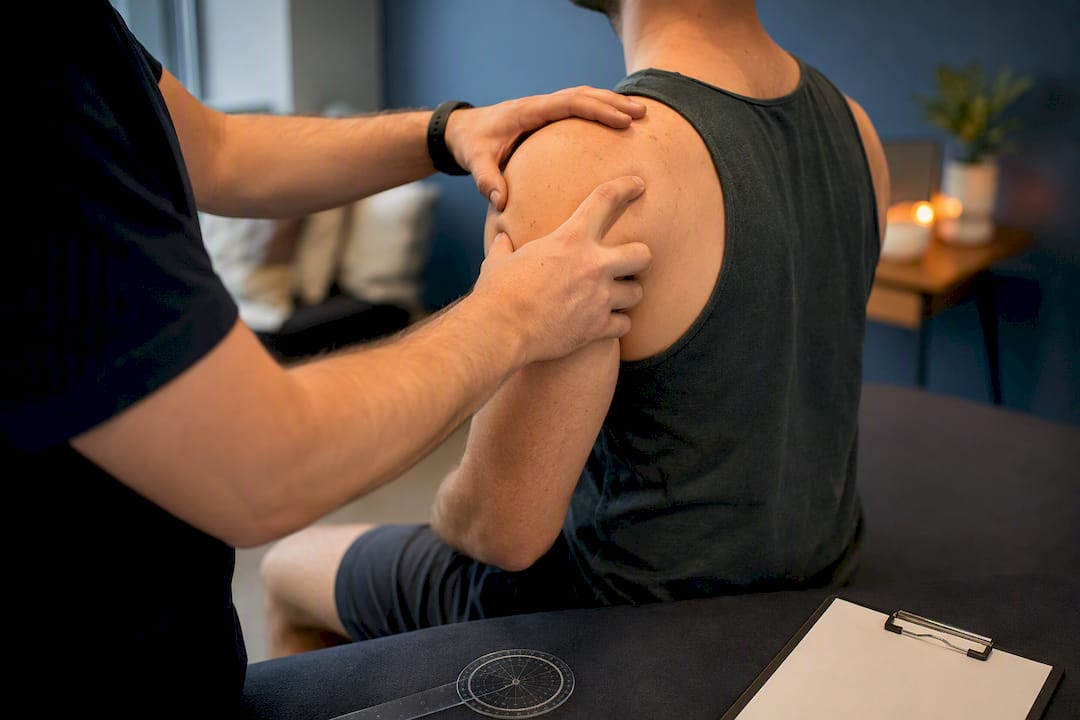
Generic exercise sheets are a starting point, not a finished programme. Author Ivan and the physiotherapy team at Parks Therapy Centre have applied staged rehabilitation protocols like these across decades of clinical practice since the clinic was established in 1986, and that experience shapes how programmes are adapted rather than issued off a template.
A typical pathway begins with a full assessment covering range of motion, strength, scapular control and functional goals, whether that is returning to five-a-side football or simply lifting a kettle without pain. From there, clinicians build a bespoke home exercise programme aligned to the phase you are actually in, not the phase your surgery date suggests you should be in. Supervised sessions track progress against objective markers, and resistance or complexity is only added when those markers are met.
Tear size, tissue quality and repair technique all influence pacing. A small partial tear managed conservatively progresses very differently to a large repair requiring extended protection, which is exactly why one-size-fits-all timelines fail so many patients. For a broader look at how exercise programmes are structured after different procedures, see this surgery rehabilitation exercise guide.
What do clinicians see go wrong most often?
The biggest pitfall is not laziness. It is the opposite: patients feel a good day and decide to test the shoulder harder than the plan allows, then spend a week managing the flare-up that follows. A staged programme exists precisely because tissue healing does not care how you feel that morning.
Adherence improves when rehab is scheduled like an appointment, not squeezed in whenever convenient. Keeping a short pain and exercise log helps you and your physiotherapist spot patterns early, rather than relying on memory two weeks later. If progress plateaus for more than a couple of weeks despite consistent effort, that is the signal to contact your clinic rather than push harder alone.
Recovery from a rotator cuff injury rewards patience more than intensity. Small, consistent gains most weeks beat a dramatic push followed by a setback almost every time.
— Ivan
Ready for a personalised rotator cuff rehab plan?
A generic exercise sheet cannot account for your tear size, your job, or how your shoulder actually responds week to week, and that gap is exactly where supervised care earns its value. Parks Therapy Centre offers full physiotherapy assessment for rotator cuff injuries, building progressive, supervised exercise plans and structured return-to-sport programmes rather than a static handout you outgrow within a fortnight.
Bring any surgical notes or imaging reports to your first appointment if you have had a repair, along with a list of the movements or tasks you are struggling with. Parks Therapy Centre accepts most major health insurers alongside private bookings, and appointments across its Bedfordshire and Buckinghamshire clinics can be arranged through online booking. If your shoulder rehab has stalled or you are unsure which phase you are actually in, book an assessment with Parks Therapy Centre and get a plan built around your shoulder, not a generic timeline.
Sources
This article is general information, not a substitute for advice from a qualified doctor. Consult a qualified healthcare professional about your own circumstances before acting on anything here.
Recommended